I highly recommend the YouTube, “How to make an English Pillowcase” by Daisynics Recipes & DIY Crafts. Below are my written interpretation and adaptations of her process. An English pillowcase is much like an American pillowcase with the addition of an inner flap to hold the pillow inside the case.
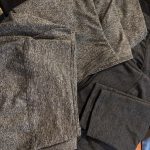
It takes just over two yards of 44” wide fabric to make two pillowcases with using scraps for accent flange. I used some 1930’s inspired quilting cottons, which coordinated with my scrappy 1930’s pineapple quilt. I used a serger for some steps but it can easily be completed using only a home sewing machine.
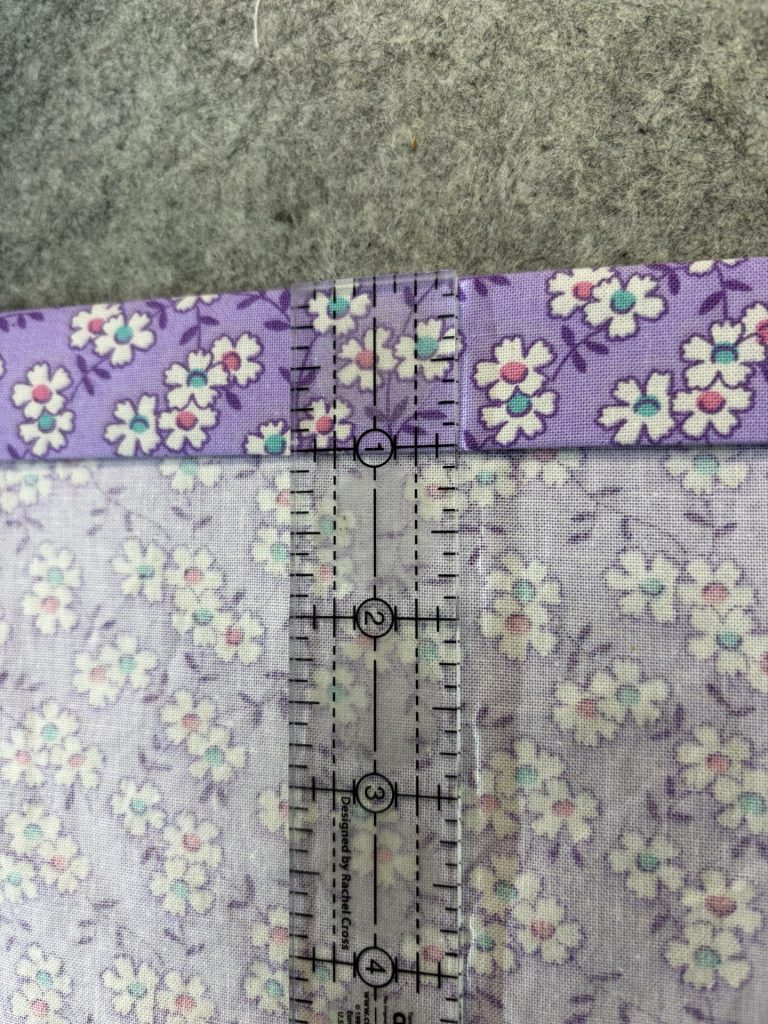
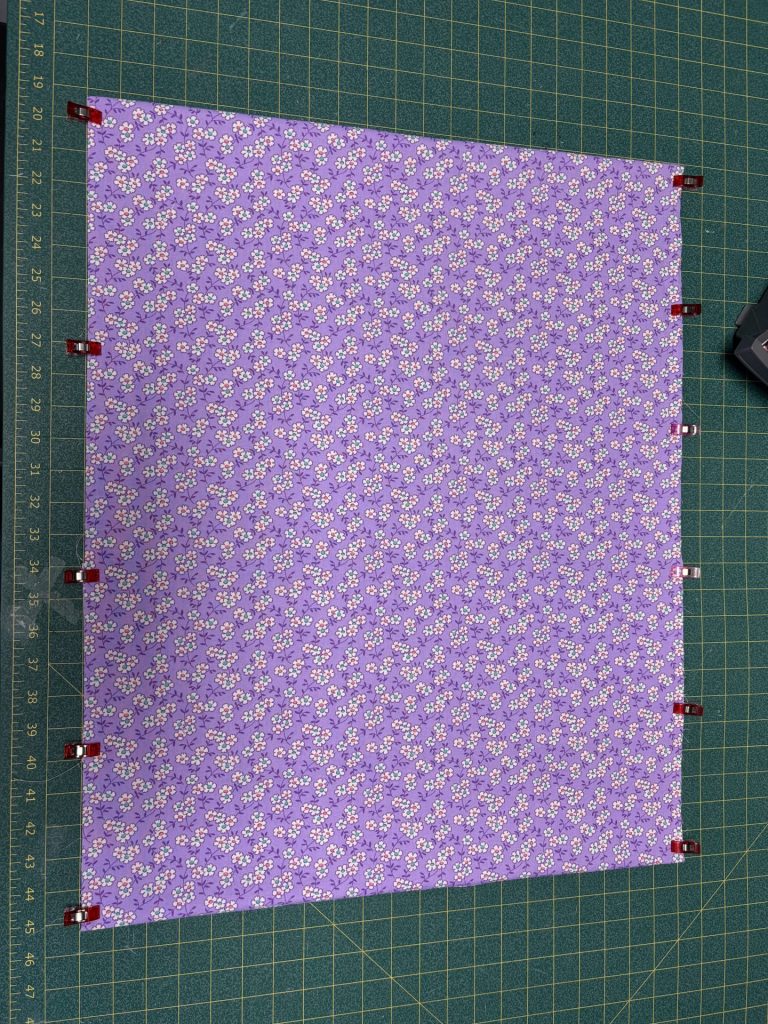
This procedure results in two pillowcases. Ironing is the most time consuming part of the process. Prewash and tumble dry your fabric, to preshrink. Iron your fabric before starting. The cutting instructions results in enough for two pillowcases. Iron your fabric and fold in half, matching selvages. Cut a 60” long piece of fabric. Trim the 60” pieces to 21” wide. I recommend cutting off selvages. Cut two 12 by 21” pieces. Be careful of directional prints which might require additional fabric to achieve a desired alignment. Finally cut two 2” x 21” pieces out of contrasting fabric scrap. The flange is optional. This results in a standard size pillowcase. But measurements can easily be adjusted to fit whatever fabric you have available.
Assembly
Press the 12 inch pieces in half with wrong sides together to form 6” x 21” pieces. Press the 2” pieces in half wrong sides together to form 1” x 21” pieces.
Make a double folded hem along one of the short edges of the 60” piece. I made a 1” double folded hem.
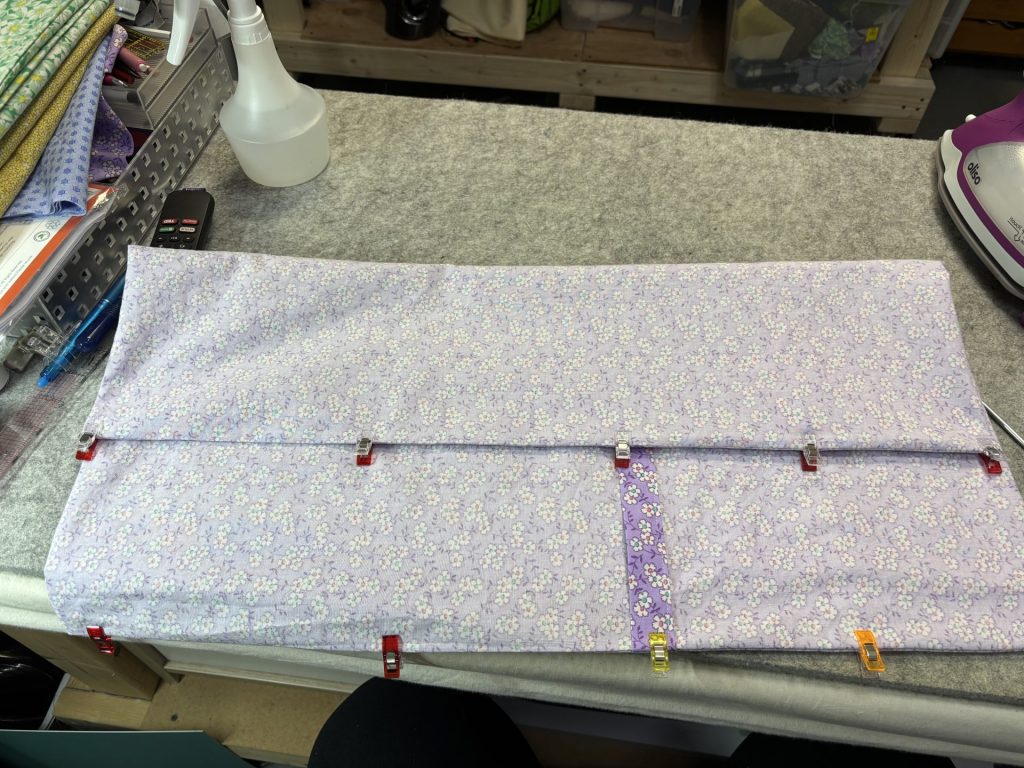
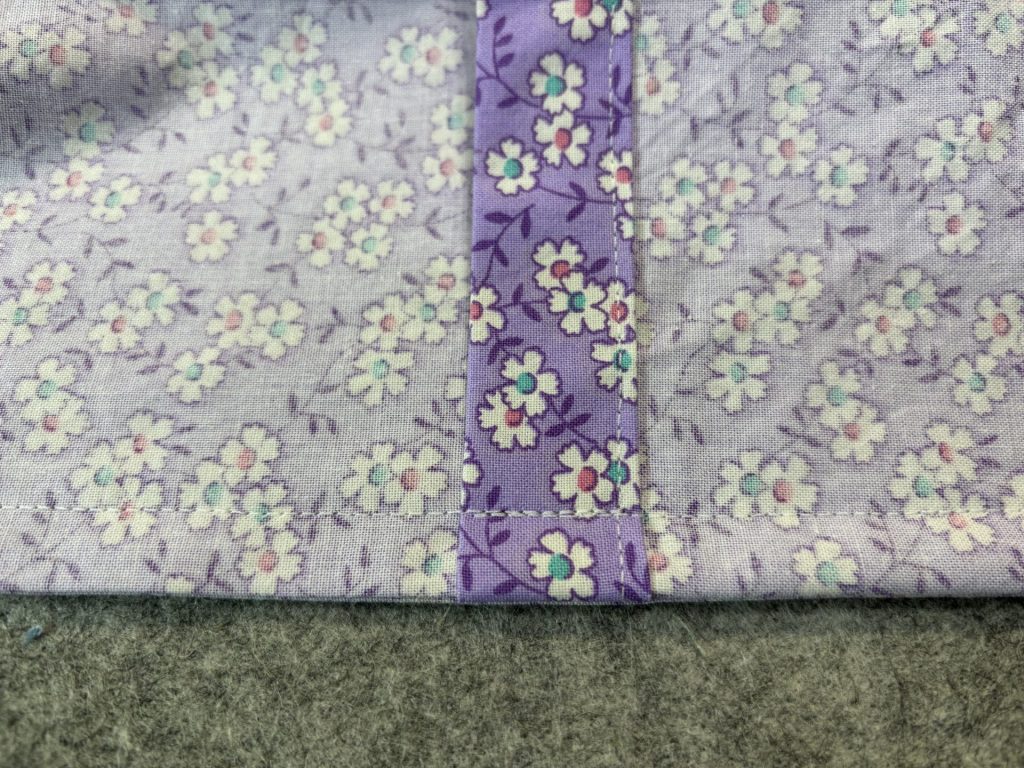
To make BURRITO: Unfold the 6 inch piece to 12” with RIGHT SIDE facing up. Place the unfinished short edge of 60” piece with RIGHT SIDE up on top of 12” piece, aligning the raw edges. Place the optional flange on top and align raw edges. I recommend pinning or clipping the raw edges together. Then roll up the long piece until it is small enough to wrap the other edge of 12 piece around the rolled up long piece, and again align raw edges. You should have the wrong side of fabric pinned along the 21” edge, and the long piece is inside. Sew a seam, I used 3/8” seam allowance, reinforcing the start and end of the seam. Be sure not to catch the long fabric in the seam when sewing.
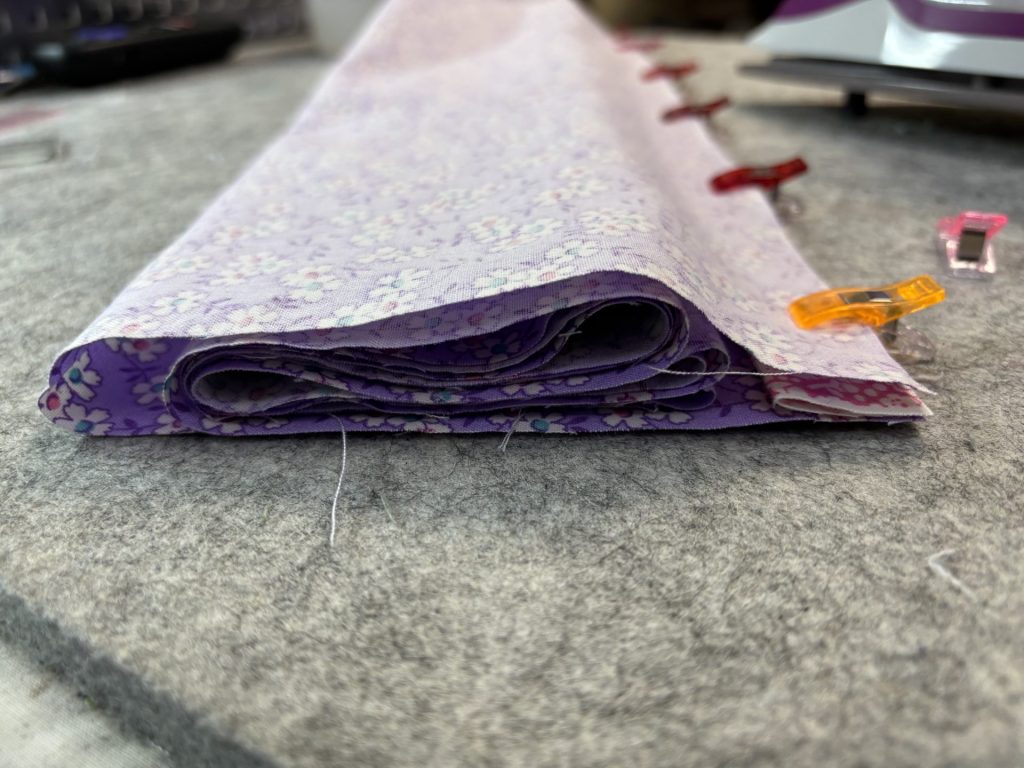
Pull the inside rolled fabric out and you should have a long piece with one end double hemmed and the other end has a decorative end with a wide cuff and optional flange. Press the cuff on both sides.
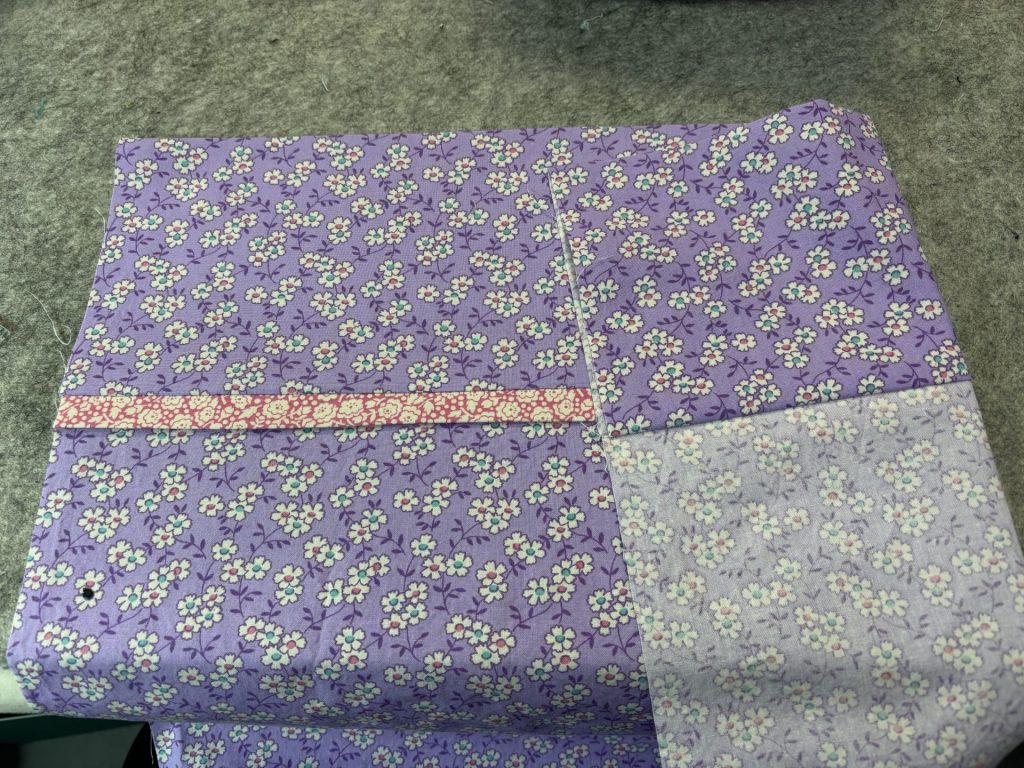
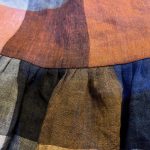
Now, measure 26” down from cuff edge, fold with wrong sides together, and press. This forms the end of pillowcase. Measure 26 inches from the folded end of pillow, press, and fold with wrong side together. This forms the inner flap which keeps your pillow in place. Make sure the Cuff end and folded end are aligned. At this point the RIGHT sides of pillow case should be showing on both sides, and the folded fabric should be approximately 21” x 26”.
Front
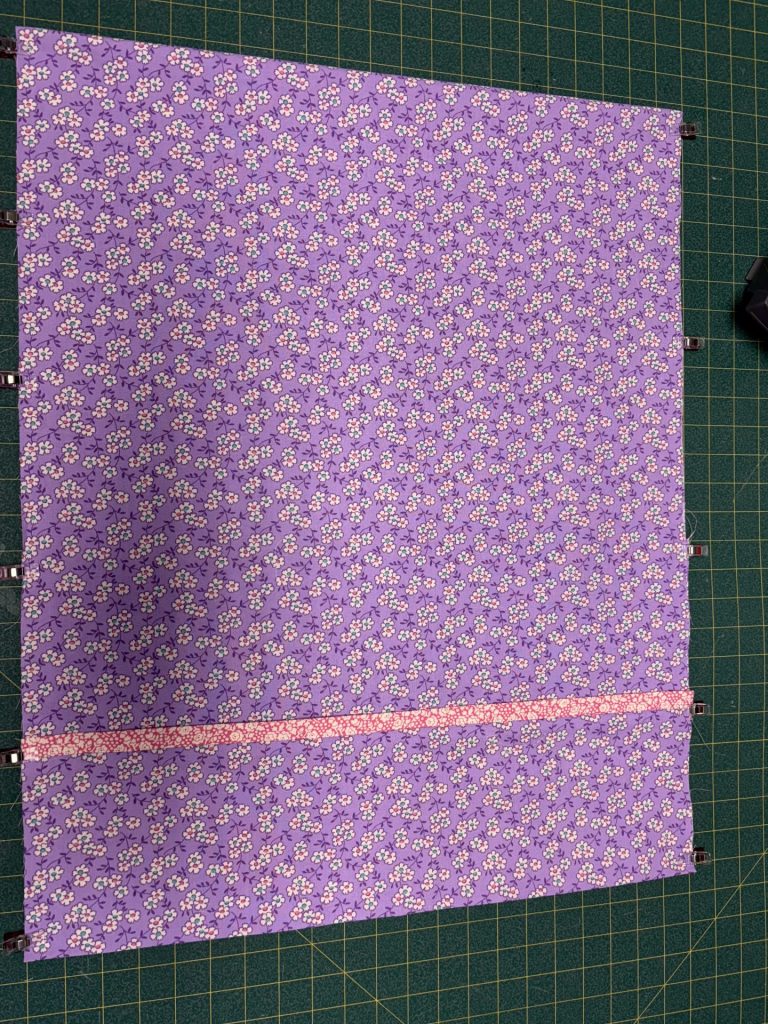
At this point I serged the edges together. If not using serger, just sew a 3/8” seam allowance and then trim seam allowance down to ¼”. Repeat for the other side seam.
Back
Using a pressing aid iron seam allowance toward back of pillow. Turn the pillowcase inside out. Also, turn the inner flap inside out. This is important step! You should have only the wrong side of the fabric showing everywhere except the double hem which will be showing the right side of the fabric. You must flip the inner pocket to achieve this!
Align edges of sides carefully, and pin or clip in place. Using a sewing machine, sew a ½” seam. This encases your seam, leaving a beautifully finished inside to your pillowcase. While sewing this seam reverse and reinforce areas the might be stressed like opening and inner flap opening. Turn the inner flap and the pillowcase to the right side. You have a beautiful English style pillowcase with French seams.
Again, I highly recommend the video. These instructions are to accompany the video, as I work better from written instructions.